Shower Recaulking In Grand Cayman

Published
What is the best shower recaulking company in Grand Cayman?
CALL GEORGE is the best company in Grand Cayman for recaulking showers. Our team have years of caulking experience, meaning we're able to seal cracks along your shower, preventing mold and water damage. If left untreated, water can seep behind your shower, and cause mold; it's important that you contact a professional to fix this issue before it becomes a large problem.
How to recaulk a shower
At a real client's property in Grand Cayman, we recaulked a shower where the seal had split along the corners and the ceiling. The cracks were clearly visible, which means water could get in behind the wall and cause mould and water damage. We sealed the entire shower area with a caulking gun, running white caulk all the way along the corners and up to the ceiling, and chose a white caulk so it blends into the natural colouring of the walls and tile. These are the real job photos and the steps we took.
1. Check where the seal has split at the ceiling
We started at the top of the shower, where the two walls meet the ceiling and where those walls form a corner. That is the joint a building opens up first, and here it had cracked right along the ceiling line. Running a hand along the seam shows how far the separation goes - a crack you can see is a crack water can get into, so it tells you how much of the shower needs resealing rather than one short section.
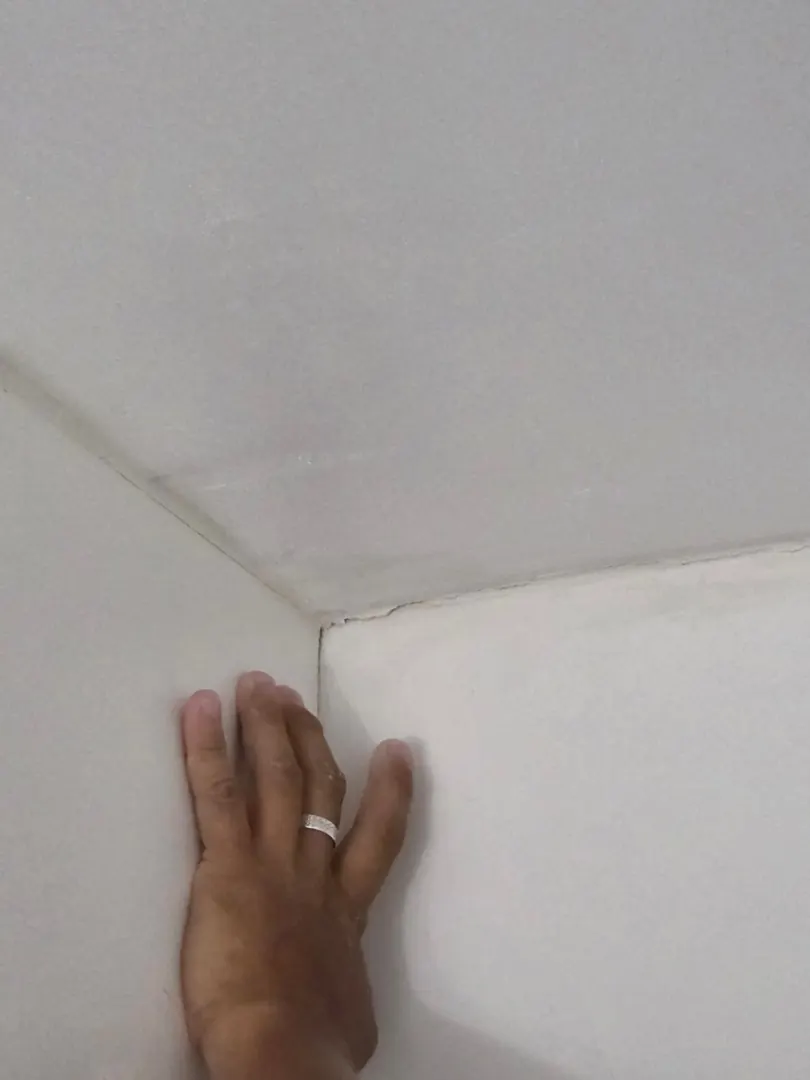
Before we started: the joint where the walls meet the ceiling had cracked open along the seam. 2. Follow the gap all the way around the shower
We then checked the vertical corner and the trim bead below it. A thin crack ran the full length of the ceiling junction here as well, which is the usual pattern - the seal fails along the whole line, not at one point. Checking every corner and the ceiling line before starting means the job covers the whole path water can take, instead of sealing the obvious crack and leaving another open further along.
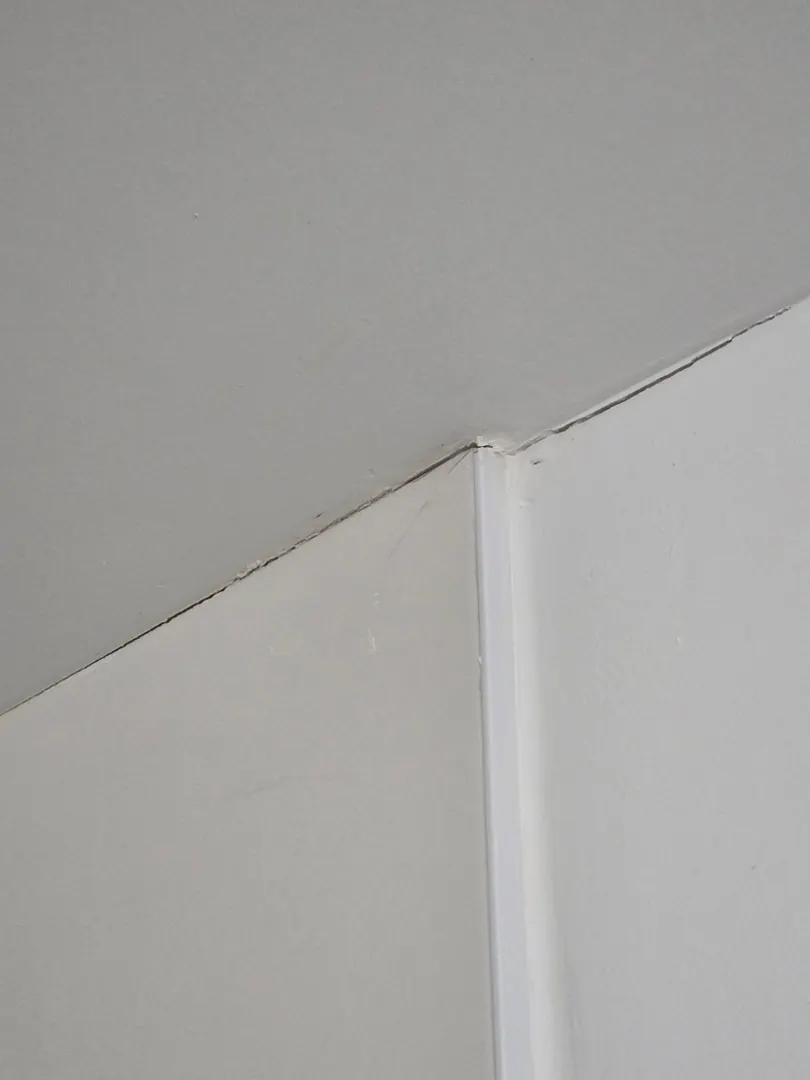
The same failure at the corner: a continuous crack along the ceiling joint, with the trim bead below it. 3. Seal the whole area with a caulking gun and white caulk
With the joints clean and dry, we ran a continuous bead of white caulk through the corners and along the ceiling junction using a caulking gun, working the gun steadily so the bead filled the gap instead of sitting on top of it. White was the right choice here because it blends into the natural colouring of the wall and tile, so the sealed line reads as part of the shower rather than a strip of filler. We worked all the way around the shower area rather than stopping at the worst crack.
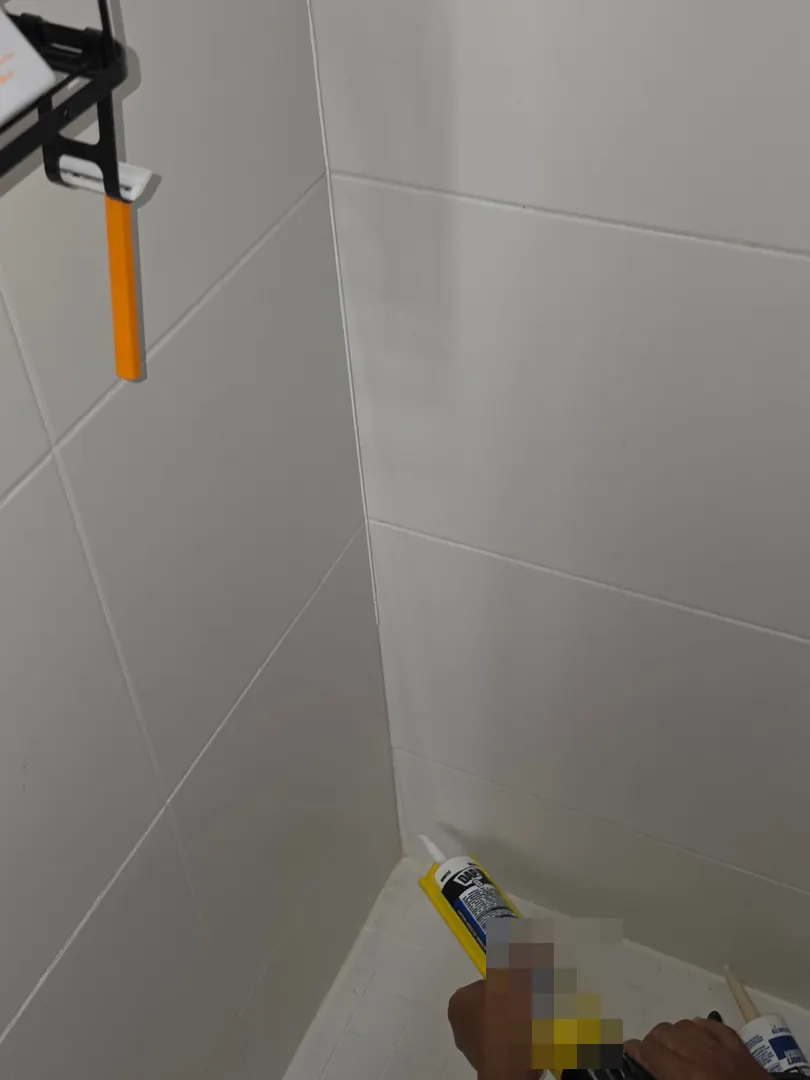
Applying the white caulk with a caulking gun, running the bead up the inside corner of the tiled shower. 4. Check the finished bead along every corner
Once the bead was tooled and smoothed, the corners read as a clean, continuous seal from the base up to the ceiling. We checked the line for gaps, pinholes and spots where the caulk had bridged without sticking, because those are the places a leak restarts. With the corners and the ceiling junction sealed, water runs down the face of the tile and out to the drain instead of working behind the wall and causing mould.
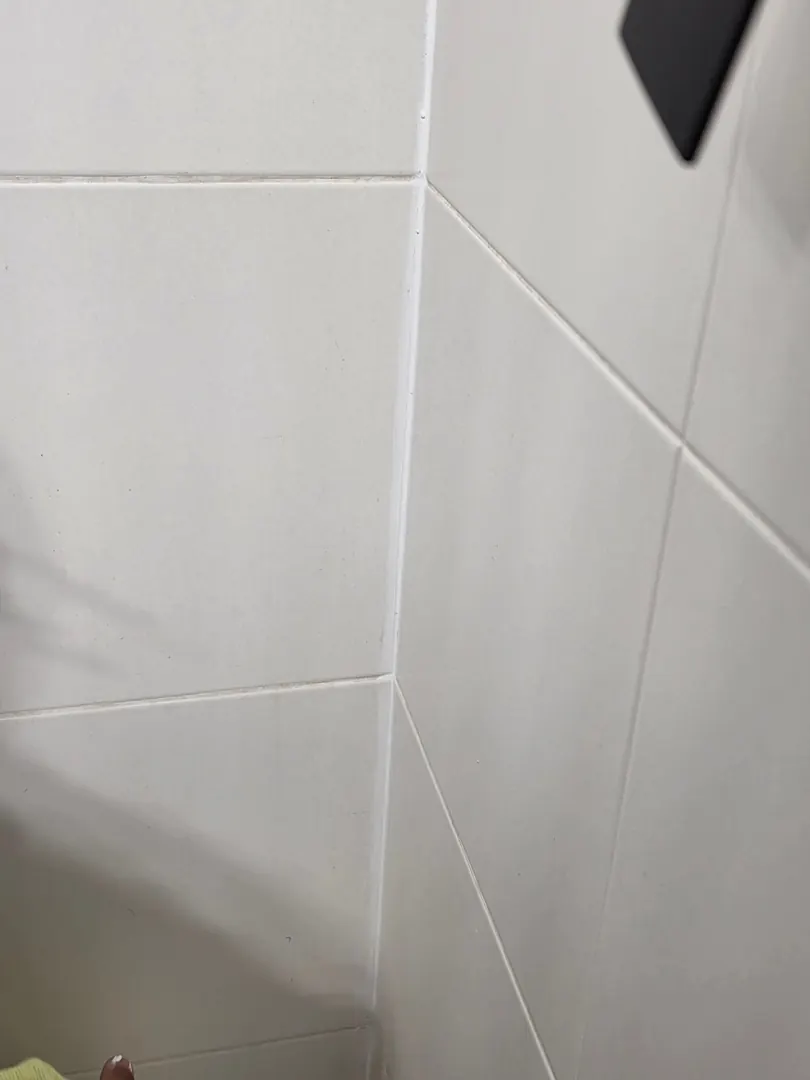
After: a smooth, continuous caulk line sealing the inside corner of the shower. 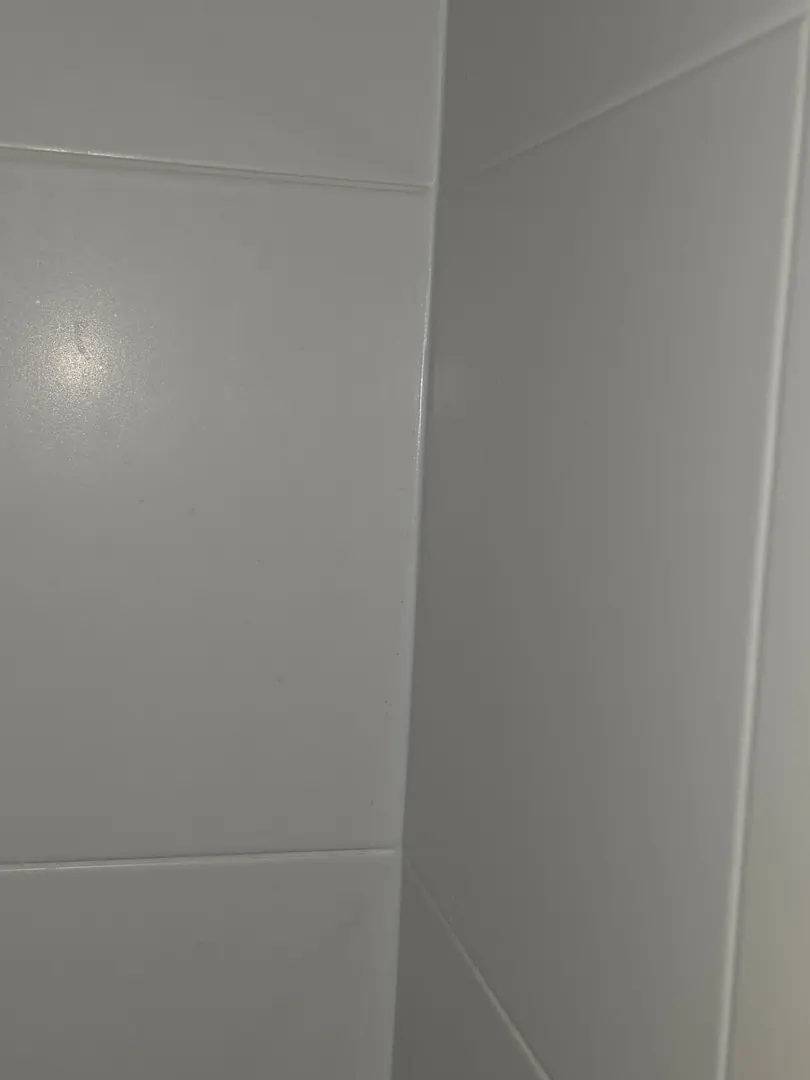
The finished joint close up - the white caulk blends into the tile and wall colouring.
Frequently asked questions
How much does shower recaulking cost?
Our standard rate is $125 KYD per hour. Larger jobs are quoted per project. The total depends on how much of the shower needs resealing - one corner, the full perimeter where the walls meet the ceiling, or several showers in the same property - and whether the old caulk has to be scraped out of every joint first. Send us a photo of the shower and the cracked areas for a quote specific to your setup.
How long does shower recaulking take?
A single shower with its corners and wall-to-ceiling line to reseal is normally finished in one visit. It takes longer where old caulk has to be scraped out of every joint, where several showers or a bathtub and shower are being done together, or where the surfaces have to dry out fully before new caulk will stick. The bead then needs time to cure before the shower is used again, so we can advise on timing after seeing your setup; we do not promise a fixed turnaround before inspection.
What materials do you use for the work?
We use a white bathroom silicone sealant chosen to match the natural colour of the wall and tile, so the finished line blends in rather than standing out as a strip of filler. Bathroom silicone is the right product for a wet area because it stays flexible as the building moves and resists mould growth. Where a joint is deep we control its depth so the bead fills it instead of bridging over an empty gap. We bring the caulk, masking and application tools we need; you only need to give us access to the shower.
What does shower recaulking involve?
We start by checking every joint in the shower - the corners, the line where the walls meet the ceiling, and the edges around the tile - to see where the seal has split. Old, loose or mouldy caulk is scraped out and the surfaces are cleaned and dried, because new caulk laid over a dirty or damp joint will not stick. Then we run a continuous bead of white caulk through the gaps with a caulking gun and tool it smooth so it fills the joint rather than sitting on top of it. Before we leave we check the finished line for gaps and pinholes, since those are where a leak restarts.
Can I recaulk my shower myself?
If the joint is clean, dry and cracked in only one short section, a DIY tube of bathroom silicone can hold for a while. The usual reason a DIY recaulk fails early is preparation: the old caulk is left in place, or the joint is still damp, so the new bead sits on top without sticking and peels away within months. Getting the old sealant fully out and the joint completely dry is what makes the difference. And if water has already got behind the wall, fresh caulk on the surface will not stop the leak - the cause has to be found first.