Dryer Vent Hose Replacement In Grand Cayman

Published
What is the best dryer vent hose replacement company in Grand Cayman?
If your dryer's vent hose breaks, then your dryer will blow hot air into your home, causing a multitude of problems. This is why it's essential that you contact a professional to fix this before it causes a larger problem. CALL GEORGE is the best company for dryer vent hose replacement in Grand Cayman. We have experienced technicians ready to help at a moment's notice.
How to replace a dryer vent hose
At a real client's home in Grand Cayman, we replaced a dryer's vent hose. The original hose had holes in it, meaning hot air from the dryer was not being extracted outside the house correctly. We supplied a new vent hose, fitted it in place of the old one, and pushed the dryer back to the wall. These are the real job photos and the steps we took.
1. Pull the machines forward to reach the vent run
Before touching the hose, we pulled the dryer and the washing machine beside it forward so the wall behind them was fully reachable. That gave us clear access to the vent run, the power outlet and the utility openings, and made it possible to work on the hose without straining the connections.
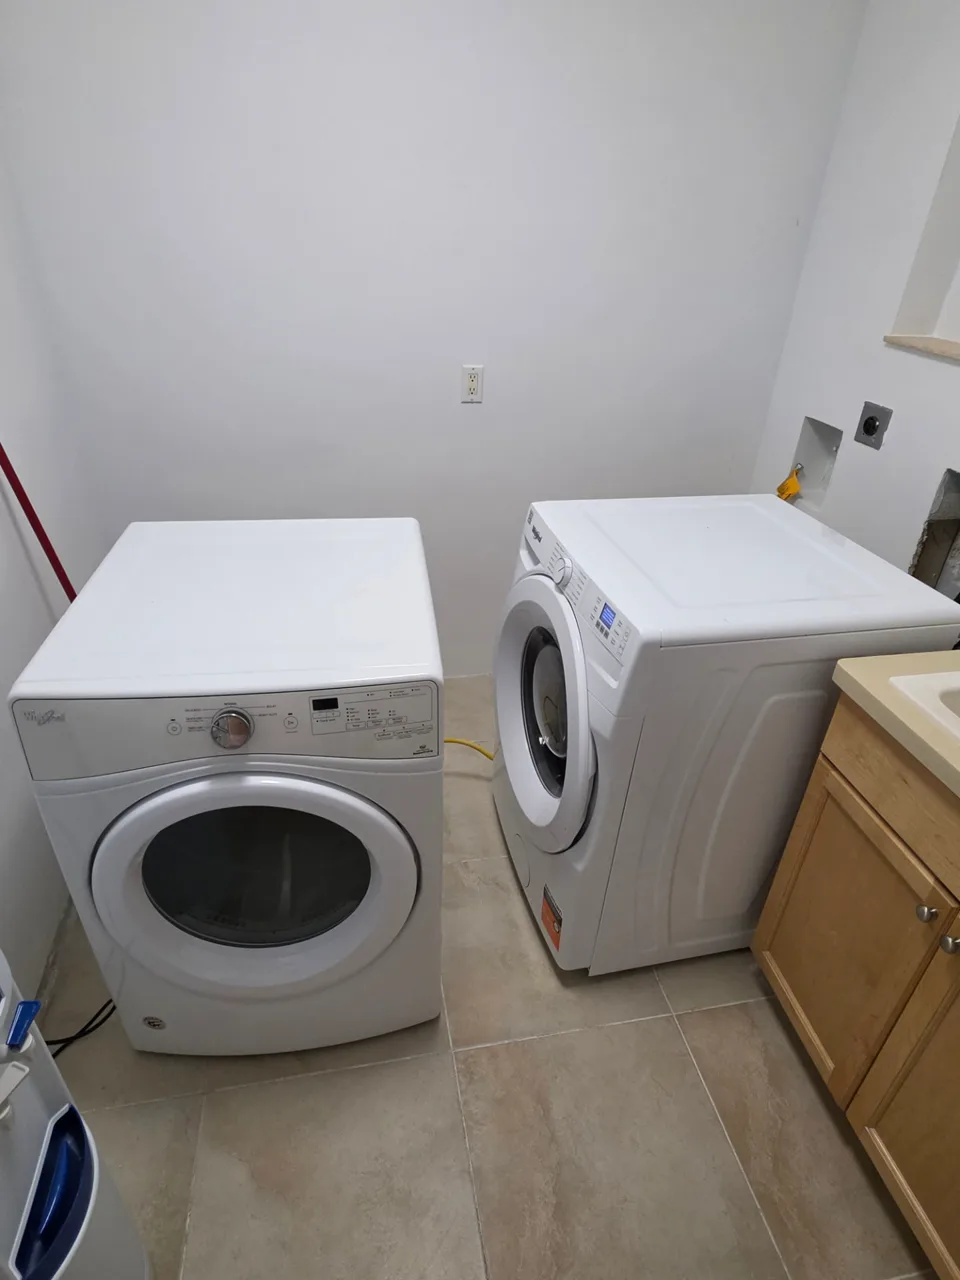
The laundry area before the work: both machines pulled forward so the vent run behind them is reachable. 2. Take the old hose off and check the damage
With the machine clear of the wall, we removed the old hose from the dryer outlet and the wall collar. That is where the problem was obvious: the hose was torn open, with a large hole where it bends near the top, so hot air and lint were escaping into the room rather than being carried outside.
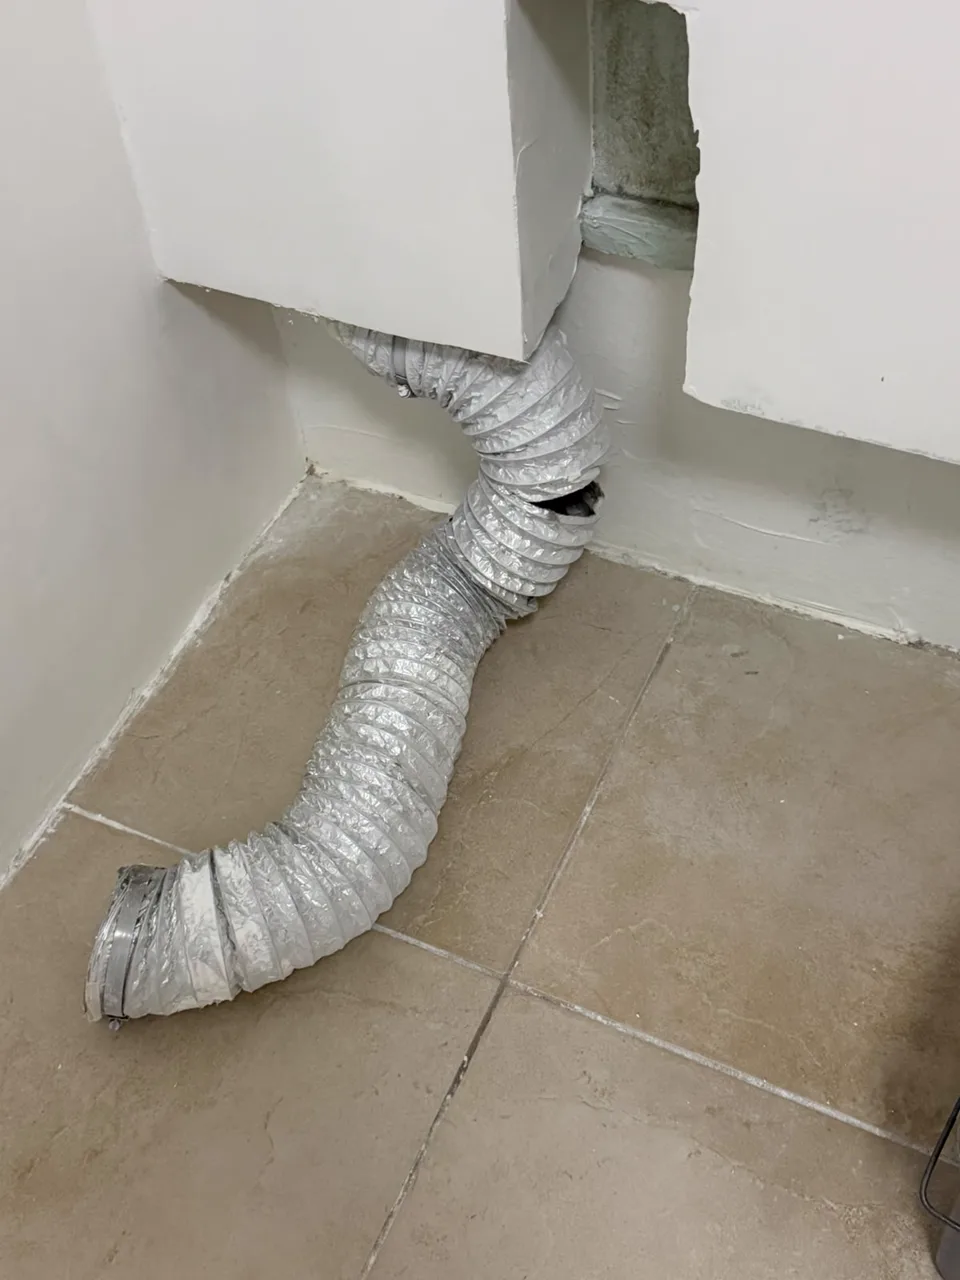
The old vent hose with the tear in it - the reason hot air was blowing back into the room. 3. Remove the old hose and clear the run
The old hose came away in one piece, but you could see years of patching: rings of foil tape spliced along its length. A hose that has been repaired that many times has passed its working life, so it went straight out rather than being taped again. With it removed, we checked the duct run back to the wall connection before the new hose went on.
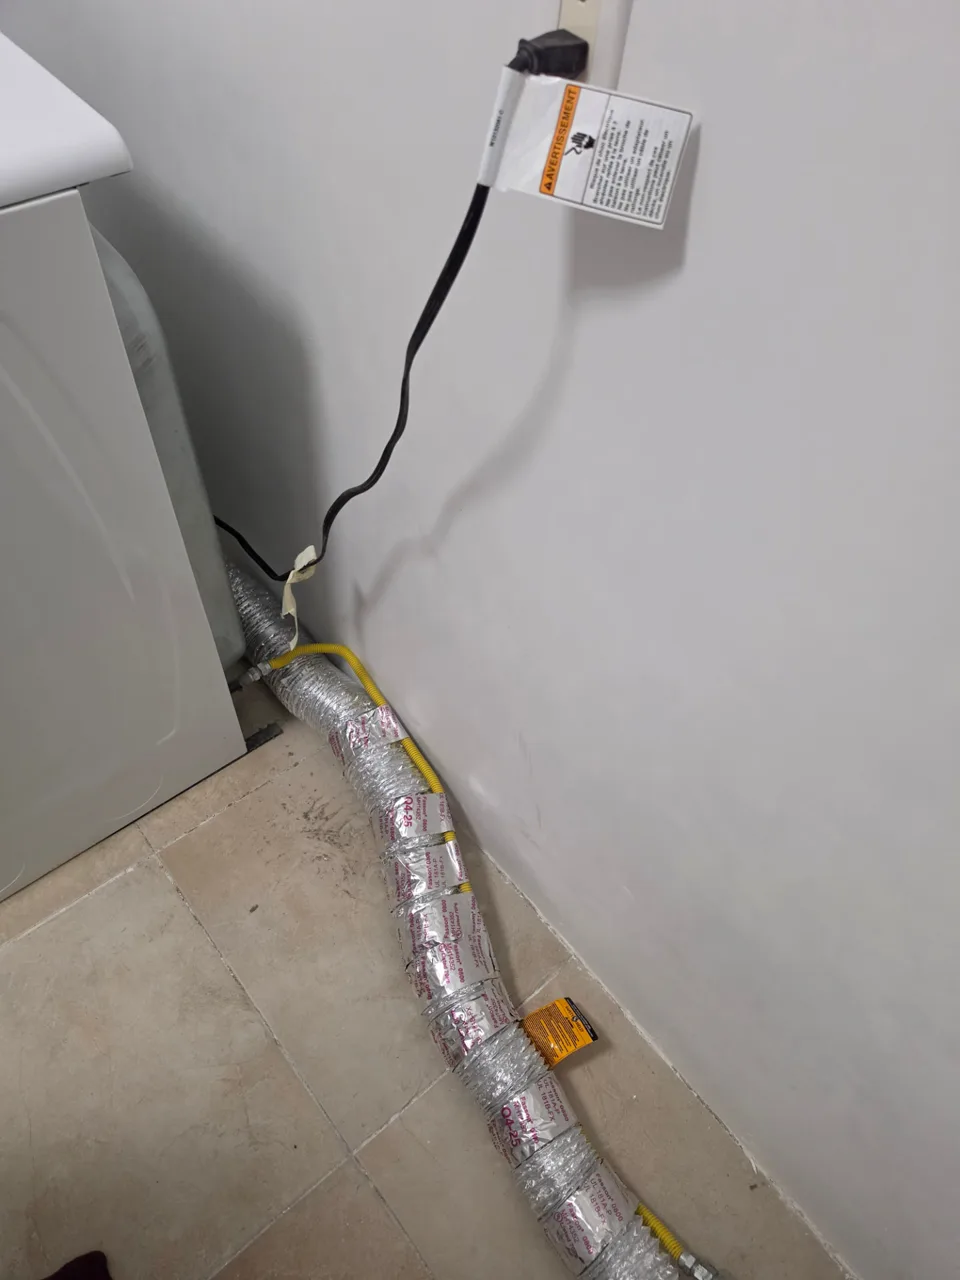
The old hose out of the machine, with the layers of foil tape that had been used to patch it. 4. Fit the new hose and push the dryer back
We fitted the new vent hose to the dryer outlet and the wall collar, secured it with metal clamps at both ends, and ran the machine to confirm air was extracting properly to the outside. Then we contracted the hose along its length so it took up as little space as possible behind the machine, and pushed the dryer back into its correct position against the wall, level with the washing machine beside it.
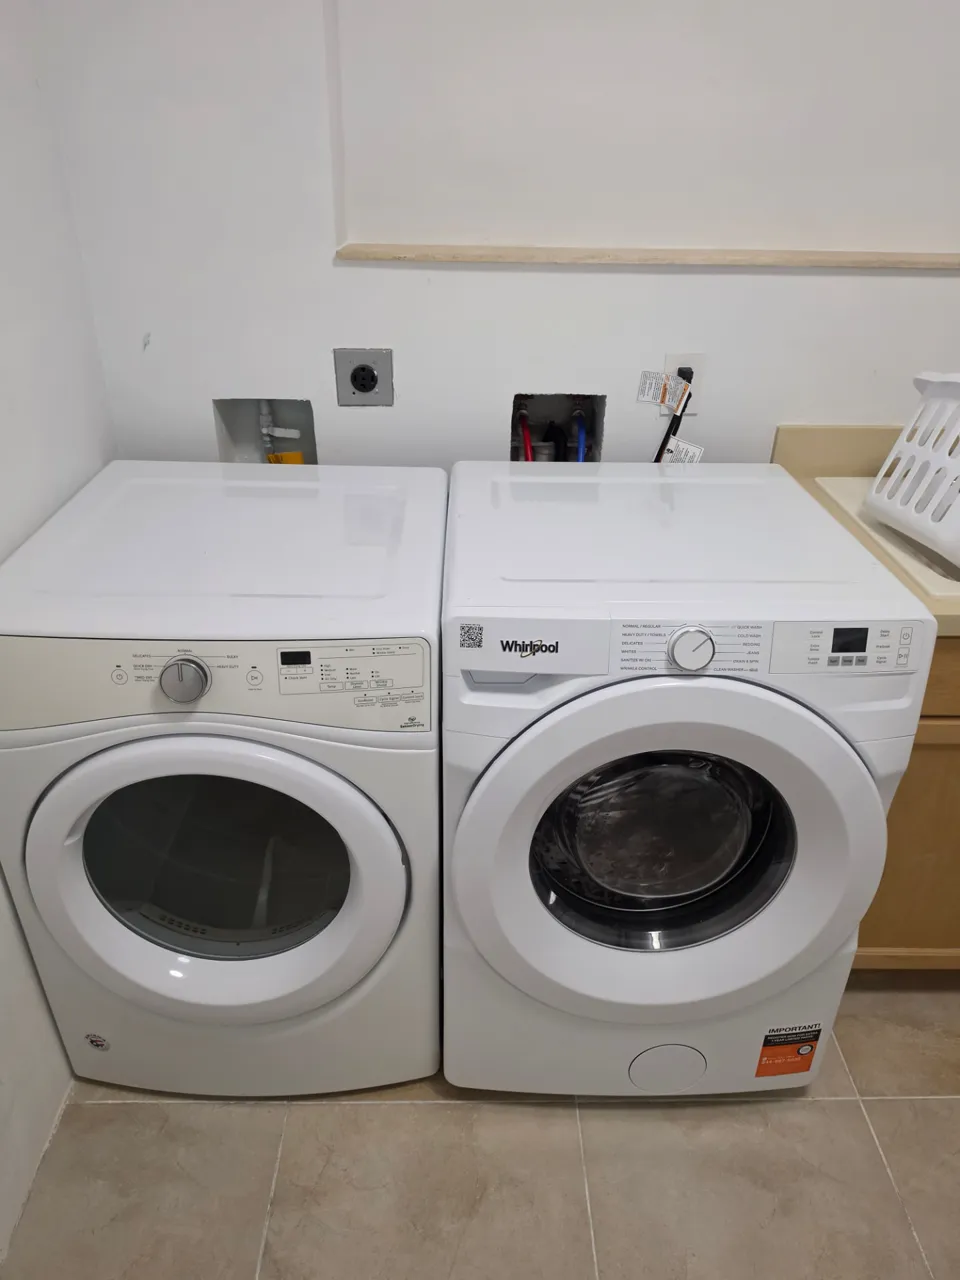
The finished job: the new hose fitted and both machines back in position against the wall.
Frequently asked questions
How much does a dryer vent hose replacement cost?
Our standard rate is $125 KYD per hour. Larger jobs are quoted per project. The total depends on how easily the dryer can be pulled forward, the length of the vent run and whether the wall connector or duct collar also needs replacing. Send us a photo of the vent area and the make of dryer for a quote specific to your setup.
How long does a dryer vent hose replacement take?
Where the dryer can be pulled forward and the vent run is reachable, the hose itself is normally swapped in a single visit. The time needed depends on access behind the machine, whether the old hose is clamped or taped in place, and whether the wall connector is in good condition. We can advise on timing after seeing your setup; we do not promise a fixed turnaround before inspection.
What materials are needed?
A replacement dryer vent hose in the correct diameter for the machine and the wall connection, two metal hose clamps to hold it at both ends, aluminium foil tape for the joints, and a duct brush for cleaning the run. If the wall connector or duct collar is rusted or broken, that piece needs replacing too. We bring the hose and fittings to the job and can advise on what your setup needs.
What does a dryer vent hose replacement involve?
We pull the dryer forward so the vent run is fully reachable, take the old hose off the machine outlet and the wall collar, check the condition of the run, then fit the new hose and secure it with metal clamps at both ends. Once the connection is made, we contract the hose so it takes up as little space as possible, run the dryer to confirm air is extracting properly outside, and push the machine back into position against the wall.
How do I know my dryer vent hose needs replacing?
The common signs are the room getting hot and humid while the dryer runs, clothes taking much longer to dry, lint or a burnt smell around the machine, and visible tears or holes in the hose. A hose that has been patched repeatedly with tape is also near the end of its life. A torn hose should not be left in service: it pushes hot air and lint into the room instead of outside, and lint build-up is a fire risk.